
You can send a test email at two different points during the campaign setup process. At either stage, you can do so by clicking the Test Email button at the top of the page.
During the Design Step
While building your email in the editor, you can send a test email to see exactly how it looks in a real inbox. The editor also lets you switch between desktop and mobile views and see a live preview, so you can get a good sense of how things look without even sending a test. However, sending an actual test email is always a good idea to catch anything the preview might not show.
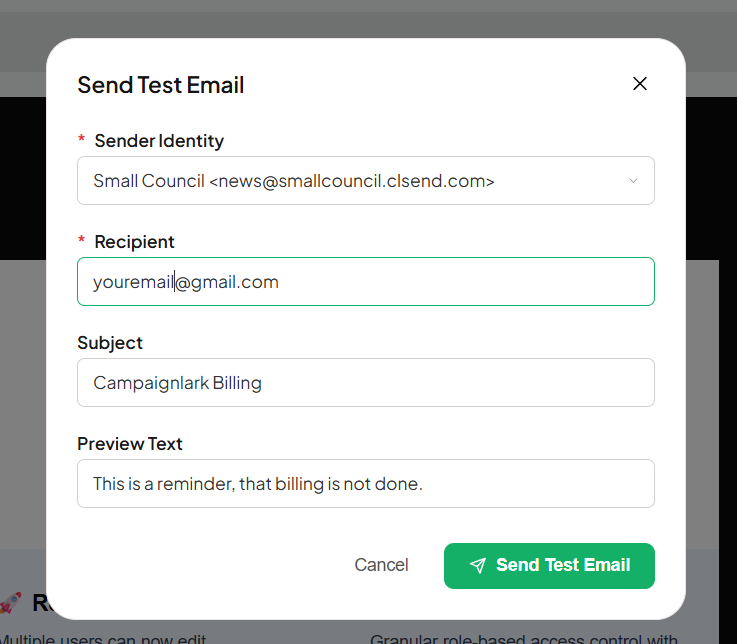
To send a test at this stage, you will need to select a Sender Identity and a Recipient, with the subject line and preview text being optional.
During the Review and Schedule Step
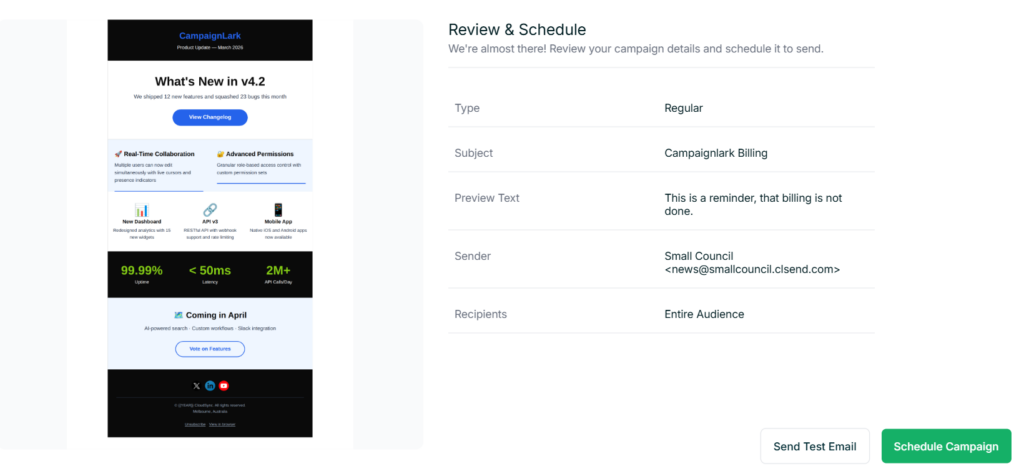
You can also send a test email from the final review step, and this is actually the recommended point to do it. By this stage everything is filled in, so it is the closest thing to what your subscribers will actually receive.
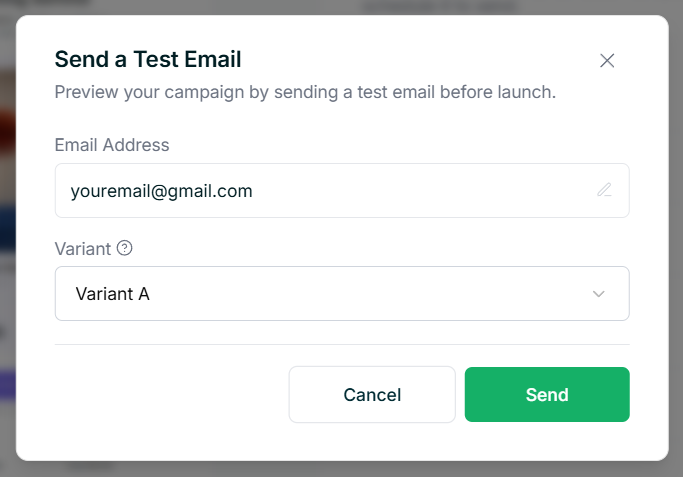
If you are running an A/B Campaign, you can also choose which variant you want to test at this point, so you can see how both versions look before sending. To send a test email, all you need is an email address to send it to.
Tips
- Always send a test email from the Review step before scheduling, even if you already tested during the design phase.
- For A/B Campaigns, it is worth testing both variants to make sure everything looks right across the board.