
A campaign is a one-time email broadcast sent to your subscribers. Whether you’re sharing a newsletter, an update, or a promotion, campaigns are the quickest way to get in front of your audience.
Campaign Info
Inside your workspace, navigate to Campaigns in the left sidebar and click to create a new campaign.
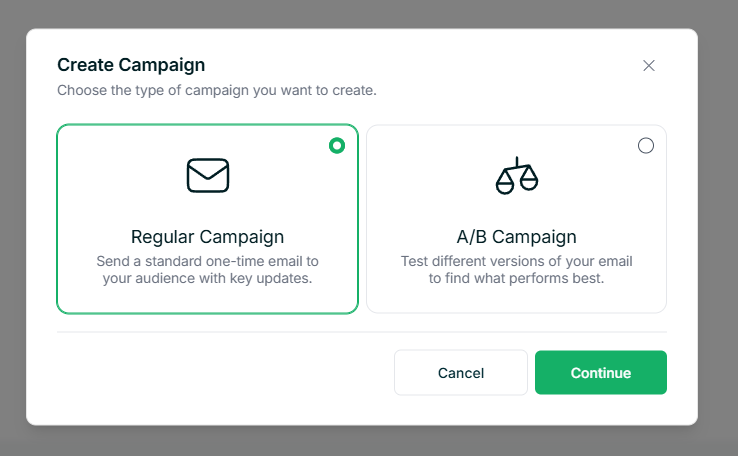
You will first be asked to choose between two campaign types:
- Regular Campaign – A standard email sent out to your subscribers.
- A/B Campaign – Lets you test two different versions of your email to see which one performs better.
Once you have chosen your campaign type, fill in the basic details such as the campaign name and subject line to move on.
Design Your Email
Next, you will be asked to choose how your email should look. There are three options to pick from:
- Templates – Build and save your own reusable email designs. If you have already created one, you can select it here and use it again.
- Gallery – Browse a collection of ready-made email designs and pick one to start from.
- HTML Code – Write or paste in your own custom HTML for full control over the design.
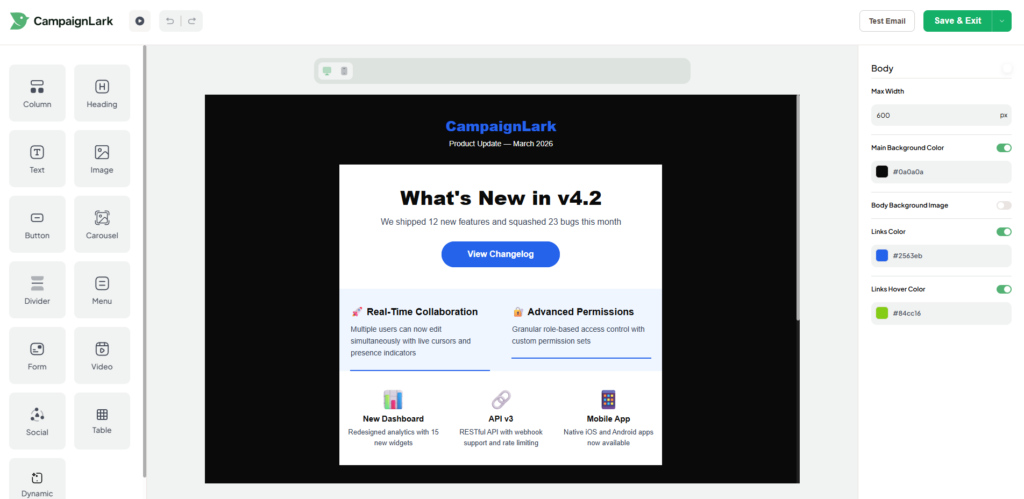
Once you have selected a design, you will be taken into the email editor. This is where you build out your email by adding and arranging sections like text, images, and buttons. As you make changes, the preview on the left updates in real time so you can always see how things are looking. You can also switch between desktop and mobile views to make sure your email looks good on any device. When you are ready, send yourself a Test Email to see how it lands in a real inbox before your subscribers receive it.
Sender and Recipients
This step is about defining who the email is coming from and who it is going to.
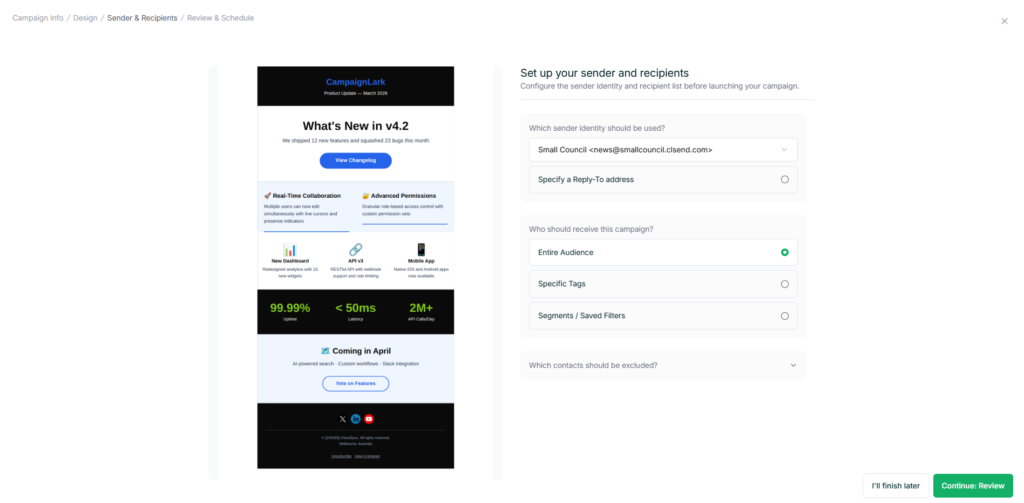
On the sender side, you will choose which Sender Identity to use. This is the name and email address your subscribers will see when the email arrives in their inbox. You can also set a custom Reply-To address, so that any replies from your subscriber’s land in the right place rather than bouncing back.
For recipients, you have three options for who should receive the campaign:
- Entire Audience – Sends to all of your subscribers.
- Specific Tags – Targets subscribers who have been assigned a particular tag, useful for reaching a more defined group.
- Segments and Saved Filters – Sends to a saved segment, which is a group of subscribers filtered by specific conditions such as location, activity, or custom fields.
If there are subscribers you want to leave out, you can exclude them by tags or segments at the bottom of this step.
Review and Schedule
This final step gives you a full overview of everything you have set up. You can see a preview of your email on the left, along with your sender details and recipient settings. If anything needs changing, you can jump back to any previous step by clicking on it at the top of the page.
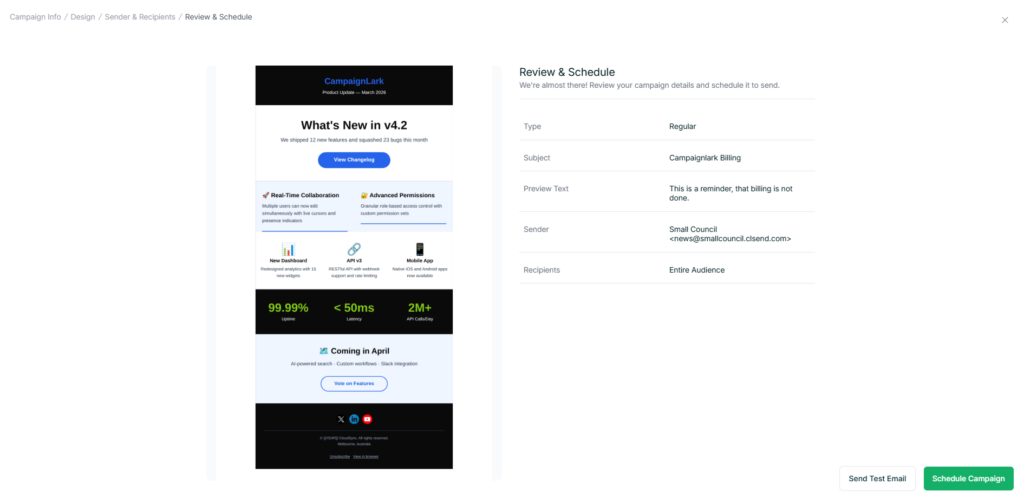
Before sending, it is recommended to send a Test Email from this step if you have not already, just to make sure everything looks right in a real inbox.
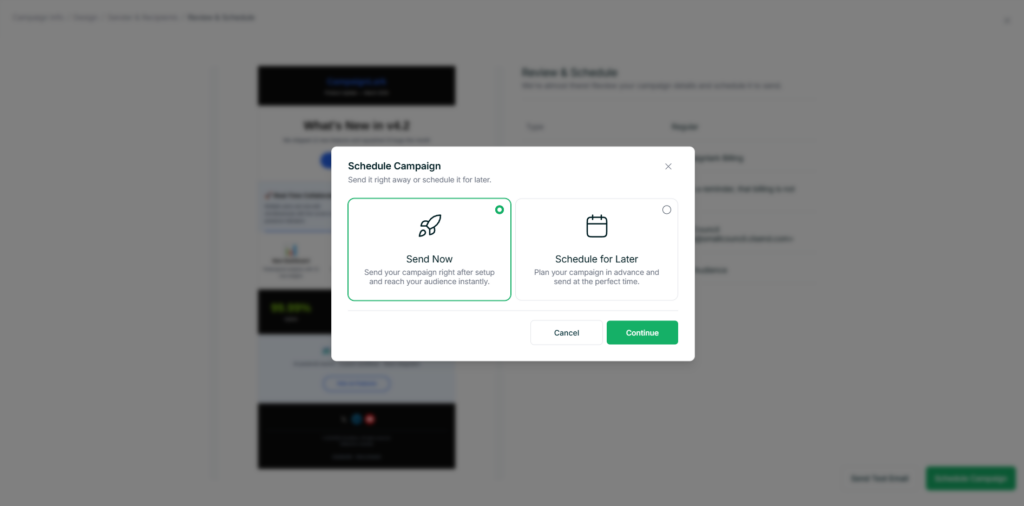
Once you are satisfied, you can choose to send the campaign right away or schedule it for a specific date and time. Scheduling is handy when you want to plan ahead or reach your subscribers at a particular time.
What Happens After You Send?
Your campaign will go through a short pre-processing stage before it starts sending. In some cases it may move into an In Review state, where our system takes a closer look before it goes out. This does not happen every time, and when it does it typically resolves within 12 to 18 hours. There is nothing you need to do during this time.
Tips
- Switch between desktop and mobile views in the editor to make sure your email looks good on all devices.
- Always send a test email before your campaign goes out to catch any formatting issues early.
- Scheduling your campaign for a time when your subscribers are most likely to check their inbox can help improve open rates.