
Navigating to Domain Settings
To begin, navigate to the Settings page inside your workspace.
Connecting your own domain to CampaignLark allows you to send emails using your own branded domain, helping improve deliverability and maintain brand consistency.
You can find this in the left sidebar navigation menu at the bottom of your dashboard. Click Settings to open the workspace configuration panel.
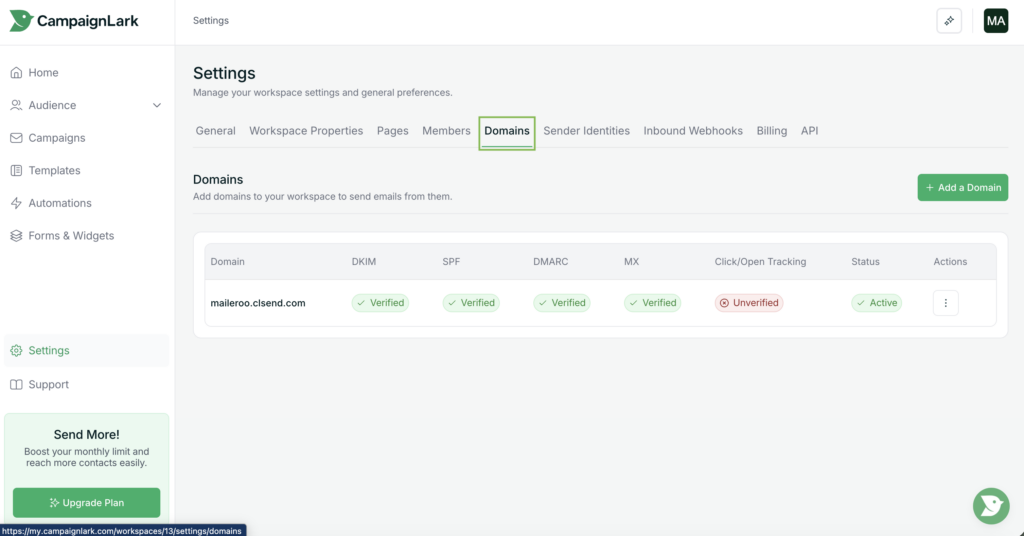
Inside the Settings area, click Domains. This page displays all domains connected to your workspace.
Adding Your Own Domain
To add a new domain, click Add a Domain.
You will be presented with two options:
CampaignLark Domain – Create and use a CampaignLark managed domain.
Your Own Domain – Connect a domain that you already own.
For this guide, select Your Own Domain.
You will then be prompted with an input field where you can enter the domain you would like to connect. Enter your domain and proceed to the next step.
DNS Configuration
After adding your domain, CampaignLark will take you to the DNS Configuration page for that domain.
Here you will see the DNS records that need to be added to your domain provider.
At a minimum, you must configure the following records:
SPF Record – Authorises CampaignLark to send emails on behalf of your domain.
DKIM Record – Cryptographically signs your emails to verify their authenticity.
Add these records within the DNS settings of your domain provider.
Additionally if you already have a MX record configured – ignore our MX Records to prevent conflicts from occurring.
Verifying Your Domain
Once you have added the required DNS records, return to CampaignLark and click the Scan button.
CampaignLark will re-check your DNS configuration and verify whether the records have been correctly applied.
If the records are detected successfully, your domain will be marked as verified.
You’re Ready to Send
Once your domain is verified, you can create a sender identity using your domain and begin sending campaigns through CampaignLark.