
The Custom Event trigger lets you start an automation based on something that happens outside of CampaignLark, such as a purchase, a sign-up on your platform, or any other action in your own product. Instead of relying on what happens inside CampaignLark, you send us the event and we fire the automation for that contact.
This makes it the most flexible trigger available, particularly useful if you want your email workflows to respond to real-time behaviour in your product or system.
Setting Up the Trigger
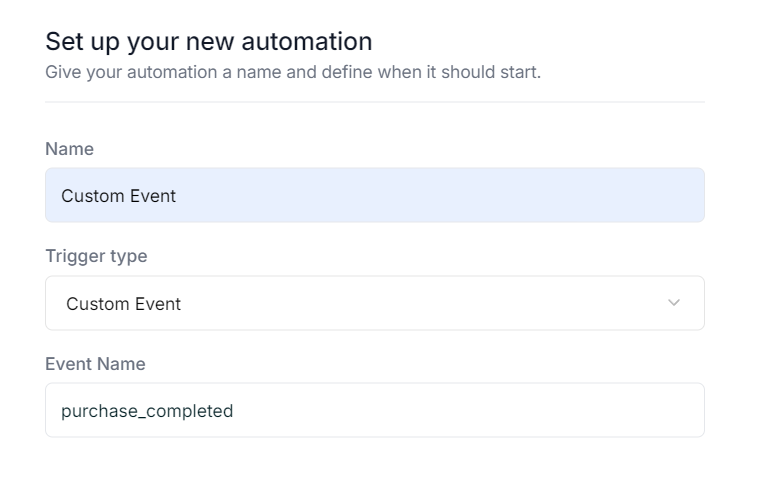
When creating your automation, select Custom Event as the trigger type. You will be asked to enter an Event Name. This must exactly match the event name you send through the API, so make sure both are consistent.
Using Event Properties in Your Workflow
When you send an event, you can include additional properties such as an order ID, a plan type, or any other data relevant to that event. These properties can then be used inside your automation workflow through the Condition node.
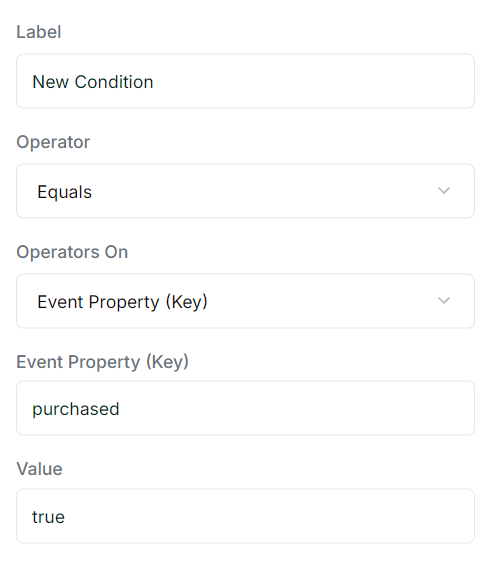
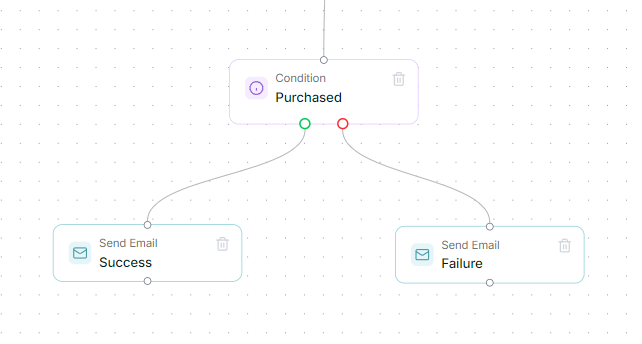
In the Condition node, select Event Key as the operator, enter the property key you passed in the event, and then choose a comparator such as Equals, Has, Greater Than, or Less Than. This allows a single automation to respond differently depending on the data that came with the event, without needing to build separate automations for each scenario.
Getting Your API Key
To send events to the API you will need an API key. To create one, navigate to Settings and select the API tab on the far right. Click Create API Key, give it a name, and copy the key once generated. You can also find a detailed guide in our API Key guide.
Sending the Event
To fire the trigger, you need to send a POST request to our events endpoint with the contact’s email address and the event name. You can also pass additional properties as key-value pairs, which can be used to carry extra context about the event.
POST https://api.campaignlark.com/v1/events
Content-Type: application/json

{
  "email_address": "[email protected]",
  "event_name": "purchase_completed",
  "properties": {
    "purchased": "true",
    "total": 99.99,
    "currency": "USD"
  }
}
The three fields you can send are:
| Field | Required | Description |
|---|---|---|
email_address | Yes | The email address of the contact to associate the event with |
event_name | Yes | The name of the custom event, must match what is set in the trigger |
properties | No | Any additional key-value data you want to pass with the event |
Response
A successful request will return a 200 OK with the following:
{
  "data": {
    "queued": true
  }
}
This means the event has been received and the automation will be triggered for that contact. In case of errors:
| Status | Cause |
|---|---|
400 | email_address or event_name is missing |
429 | Event usage limit for the workspace has been reached |
For the full API reference, visit the Custom Event documentation.
Tips
- The event name in your automation trigger and the one you send through the API must match exactly, including capitalisation. A mismatch means the automation will not fire.
- The
propertiesfield is optional but worth using. If you pass details like an order ID or plan type, you can reference them in your email using Conditional nodes. - The contact must already exist in your workspace for the event to be associated with them.