
Nodes are the building blocks of your automation workflow. Each node represents an action or a piece of logic that runs after the trigger condition is met. Without a satisfied trigger, none of the nodes in your workflow will execute.
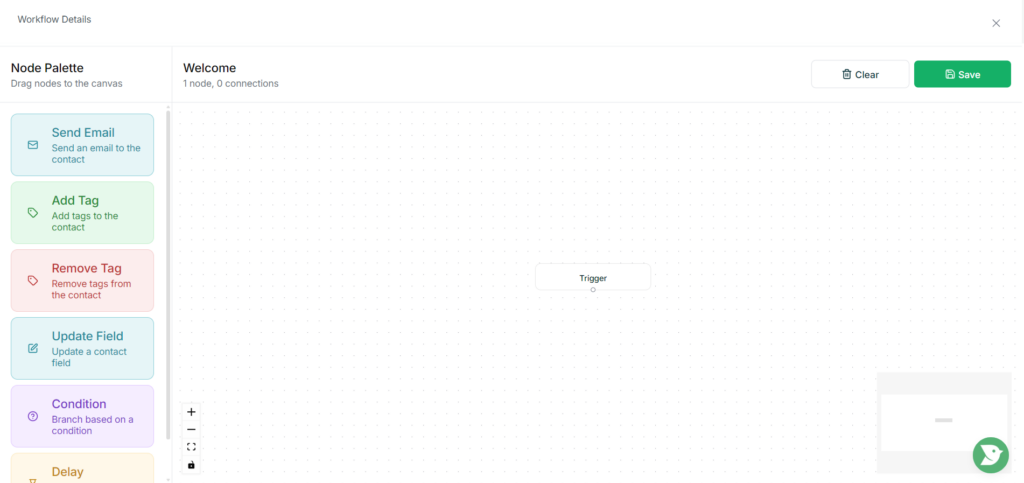
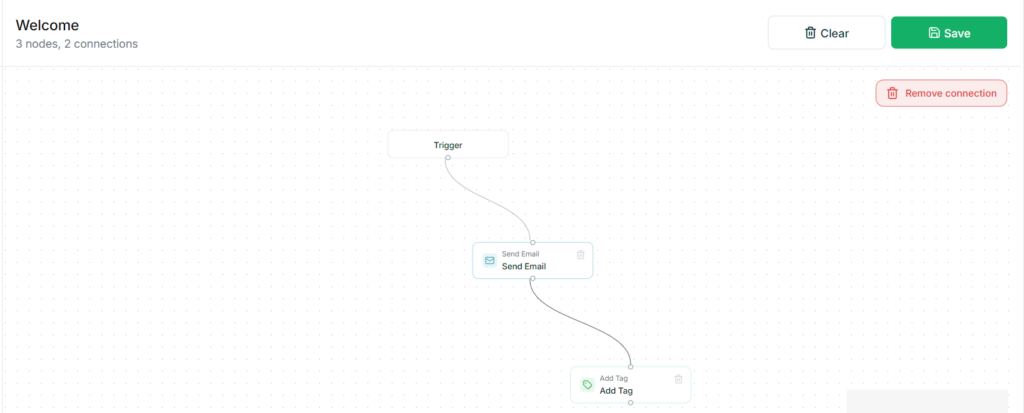
To add a node, drag it from the Node Palette on the left and drop it onto the canvas. Clicking on any node opens a settings panel on the right where you can configure it. You can also arrange nodes in any order on the canvas and connect them however your workflow requires.
To remove a connection between two nodes, click on the connecting line and select Remove Connection from the top right.
Now let’s talk about the nodes one by one.
Send Email
This node sends an email to the contact when reached in the workflow. When you click on it, you will first need to select an email. Any emails you have previously created will appear here and can be selected directly.
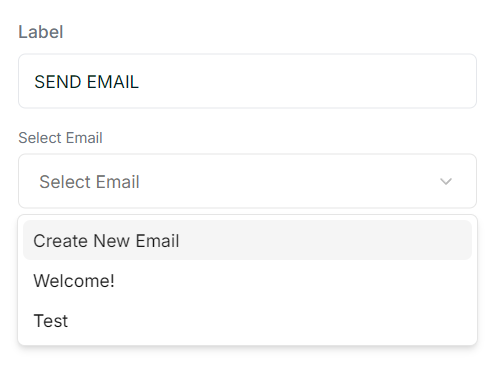
To create a new one, fill in the subject line, preview text, sender identity, and optionally a template and reply-to address, then click Create Email.
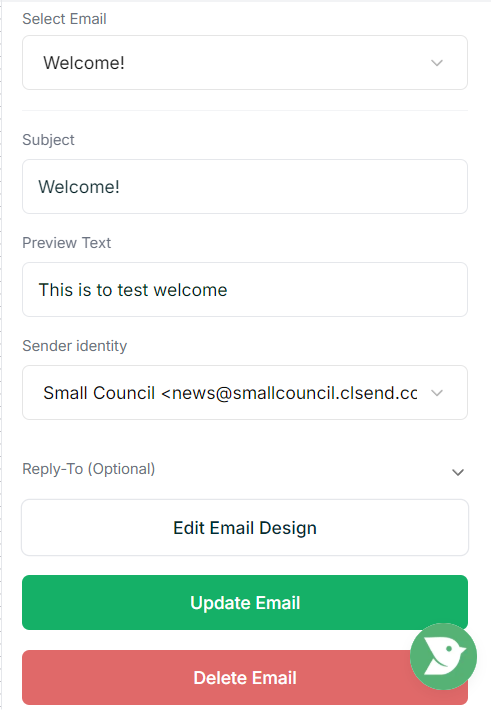
Once the email is created, you will see options to Edit Email Design, which takes you into the email editor, and Update Email if you need to make changes to the details.
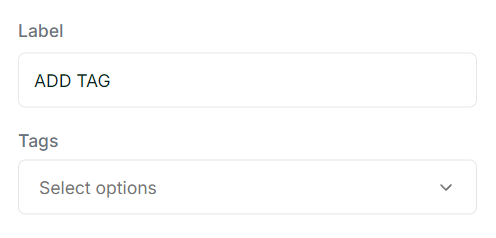
Add Tag and Remove Tag
These two nodes work in the same way. Click on either one and select the tags you want to add or remove from the contact. You can select multiple tags within a single node.
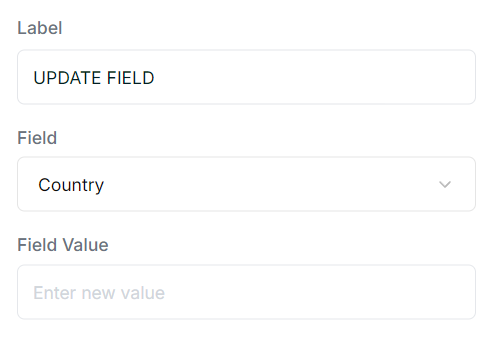
Update Field
This node updates a contact field when reached. Click on it, choose which field you want to update, and set the new value. This works across all contact fields available in your workspace.
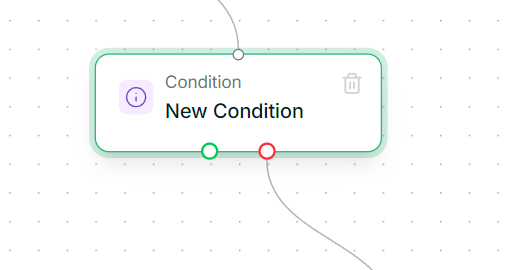
Condition
The Condition node introduces branching logic into your workflow, similar to an if/else. It has two outgoing connections: a green path for when the condition is met, and a red path for when it is not. Make sure you connect both paths to the appropriate next steps in your workflow.
When configuring the condition, you can choose from a range of operators. These include options like Has Tag, Does Not Have Tag, In Segment, Not In Segment, Opened Email, and Clicked Email. Note that email-based conditions such as Opened and Clicked only work if there is a Send Email node earlier in the workflow.
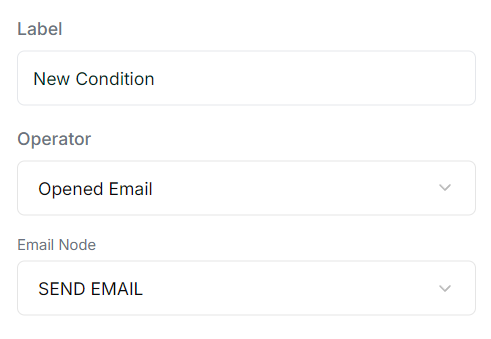
There are also field-based operators such as Exists, Does Not Exist, Greater Than, and Less Than, where you select the field and value to evaluate. The available options adjust based on what you select, and there is enough variety to cover most use cases.
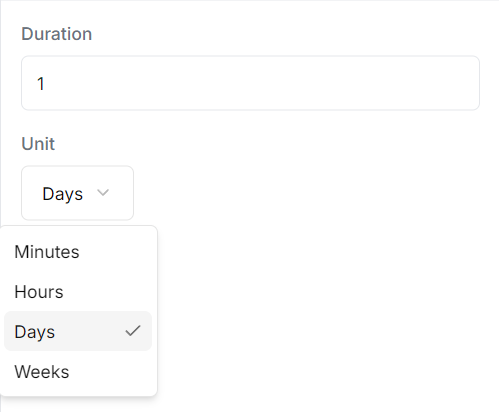
Delay
The Delay node pauses the workflow for a set amount of time before moving to the next step. Click on it, enter the duration, and select the unit, which can be minutes, hours, days, or weeks.
Tips
- You can duplicate an existing automation and swap out the nodes rather than building from scratch each time.
- Nodes can be rearranged on the canvas at any time, even after connecting them, without losing their configuration.
- You can chain multiple Condition nodes to build more granular branching logic.