
Automations let you send emails and perform actions automatically based on subscriber behavior. Instead of manually following up with every new contact, you set up a workflow once and it runs in the background.
Setting Up Your Automation
To get started, navigate to Automations in the left sidebar and click Create Automation.
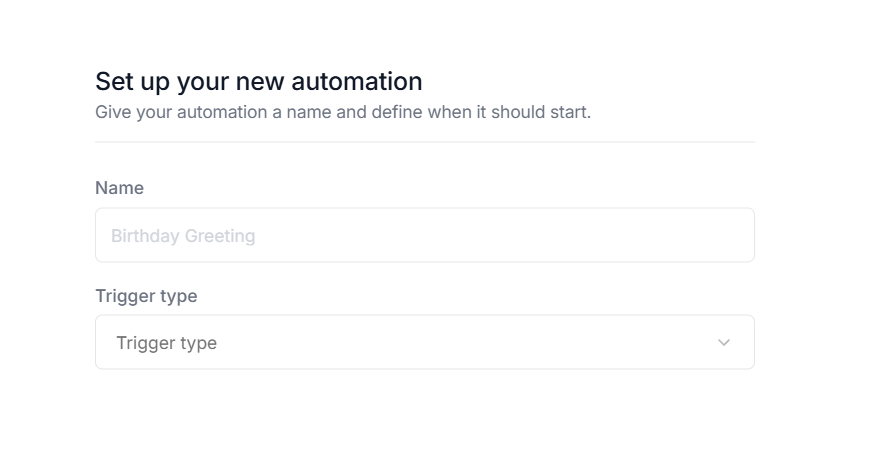
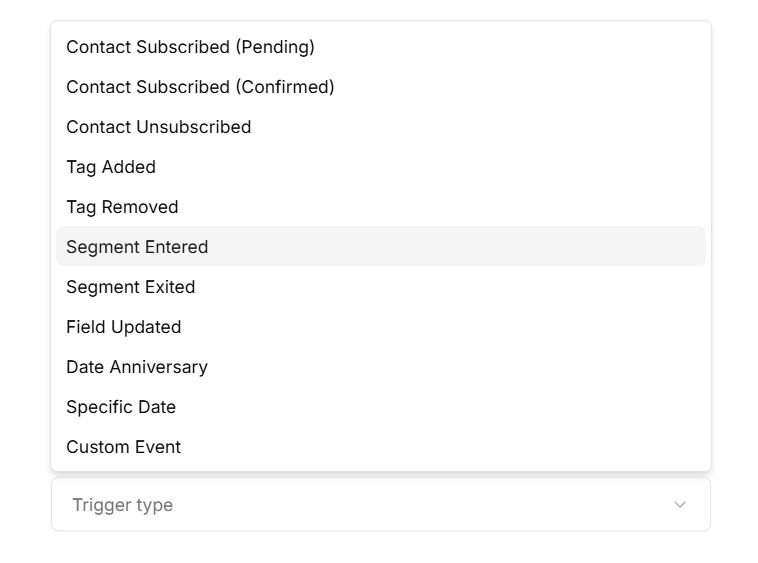
You will be asked to give your automation a name and choose a Trigger Type. The trigger is the event that kicks off the automation. We support a range of triggers such as a contact subscribing, a tag being added or removed, a contact entering or exiting a segment, a field being updated, or a specific date being reached.
Give your automation a name and select a trigger type that suits your goal. For instance, if you want to reach contacts the moment they confirm their subscription, you would select Contact Subscribed (Confirmed).
The Automation Editor
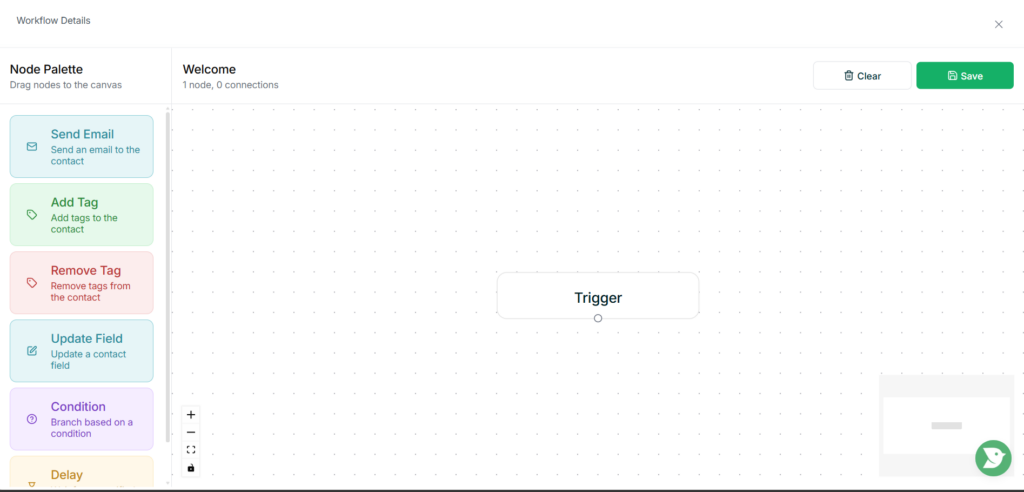
Once you continue, you will land on the automation editor. On the left is the Node Palette, which contains all the actions you can add to your workflow, such as sending an email, adding or removing a tag, updating a contact field, adding a time delay, or branching based on a condition.
The center of the screen is your canvas, where the workflow lives. You will already see a Trigger node placed there. From here, drag nodes from the palette onto the canvas and connect them by clicking and dragging from the dot at the bottom of one node to the next. Clicking any node opens its settings panel where you can configure that step.
Building the Welcome Flow
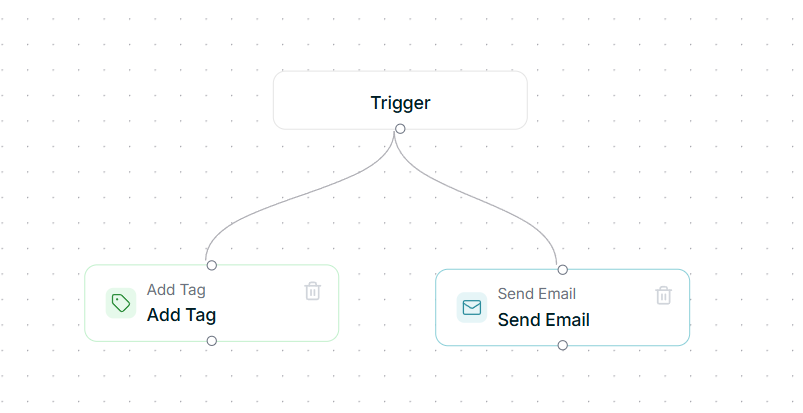
Drag the nodes you need from the palette onto the canvas and connect them in sequence after the trigger. The order you connect them is the order they will execute.
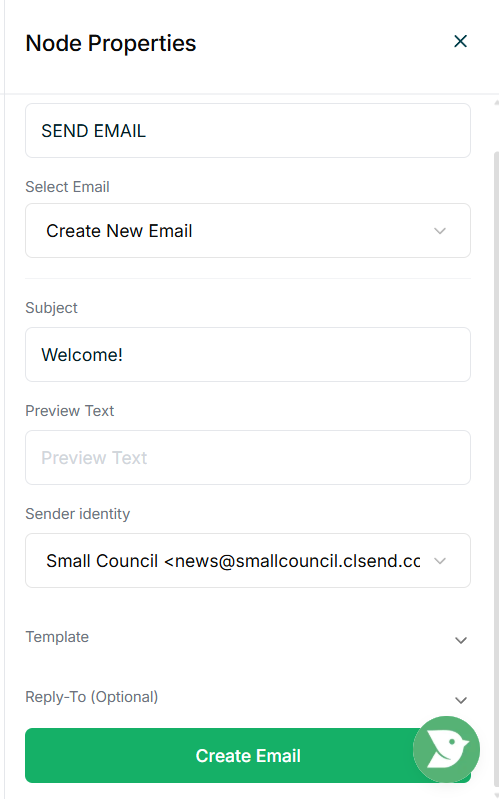
Clicking any node opens its settings panel. The Send Email node lets you select an existing email or create a new one directly from the panel. You can fill in the subject line, preview text, and sender identity here.
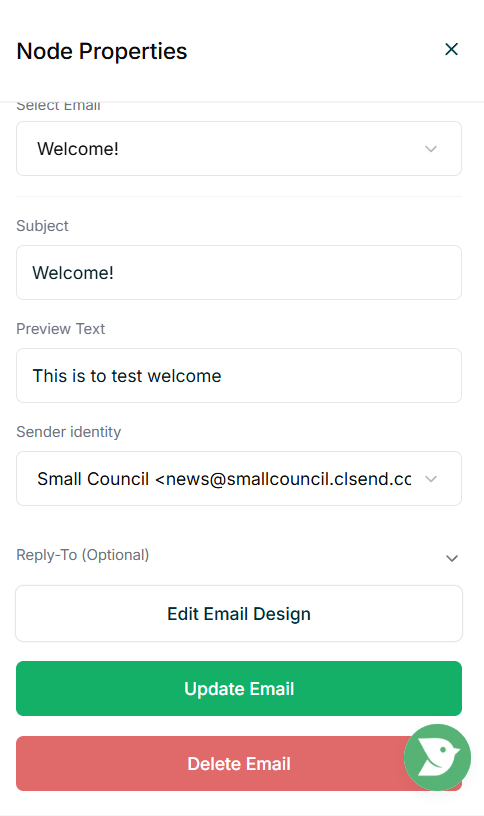
Once an email is attached to the node, an Edit Email Design button will appear, which takes you into the email editor where you can design and test it.
The Add Tag node is straightforward. Simply select which tag should be applied to the contact when they reach that step.
Once you are happy with your workflow, click Save.
Activating Your Automation
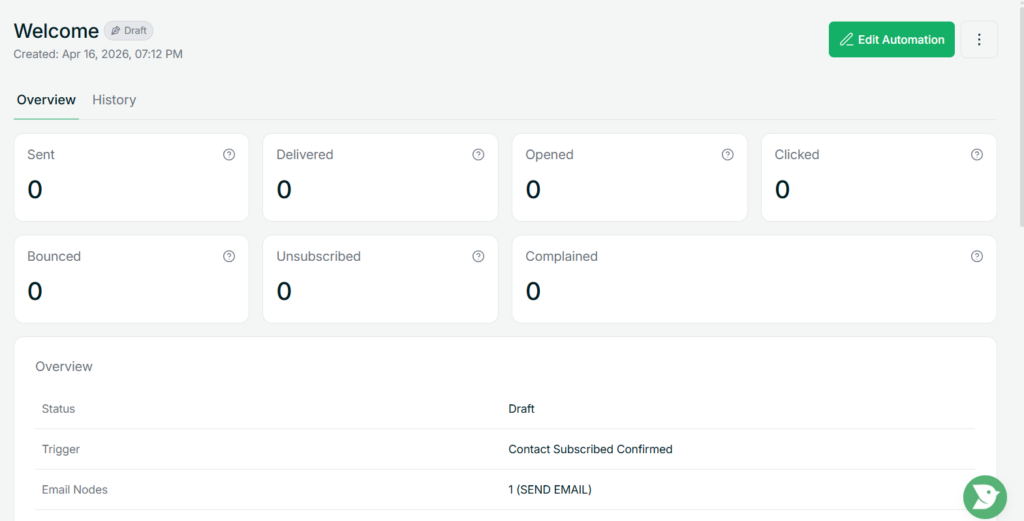
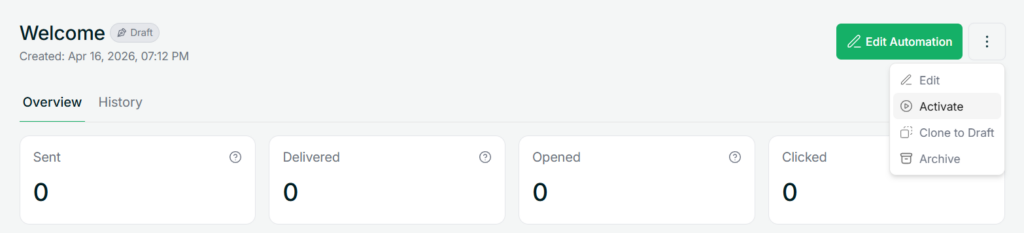
After saving, you are taken to the automation overview page. This shows a summary of your automation including its trigger, status, and key stats like sent, delivered, opened, and clicked.
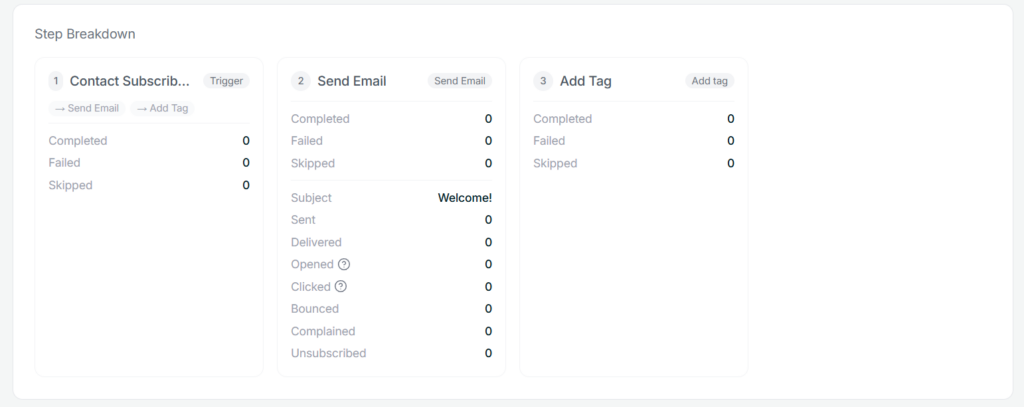
Scrolling down reveals a Step Breakdown, which shows what happens at each individual step in the flow.
When you are ready to go live, click the three-dot menu in the top right and select Activate. From this point, the automation will run automatically whenever the trigger condition is met.
Tips
- Always send yourself a test before activating. The Edit Email Design button takes you into the email editor where you can preview and test your email before anything goes live.
- Your automation stays in Draft until you explicitly activate it, so you can take your time building and configuring without anything running.