
Tags are labels you assign to contacts to help you organize and group your audience. For example, you might tag contacts as “Premium”, “Trial”, or “Newsletter” depending on how they subscribed or what they are interested in. A contact can have multiple tags, and you can use those tags to control who receives your campaigns and automations.
Creating a Tag
- Navigate to Audience in the left sidebar and click the Tags tab.
- Click Add New Tag.
- Enter a Tag Name and an optional Description.
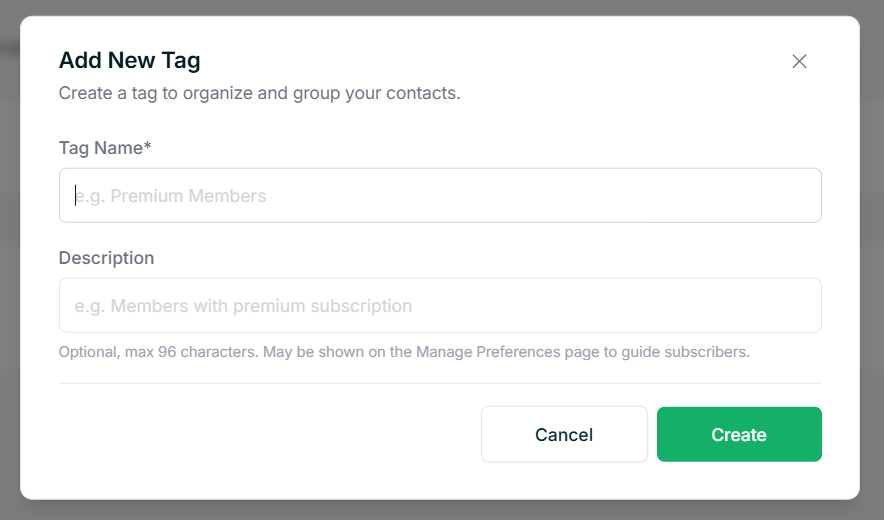
The description is for your own reference and helps you and your team remember what the tag is for. Once done, click Create.
Using Tags in Campaigns
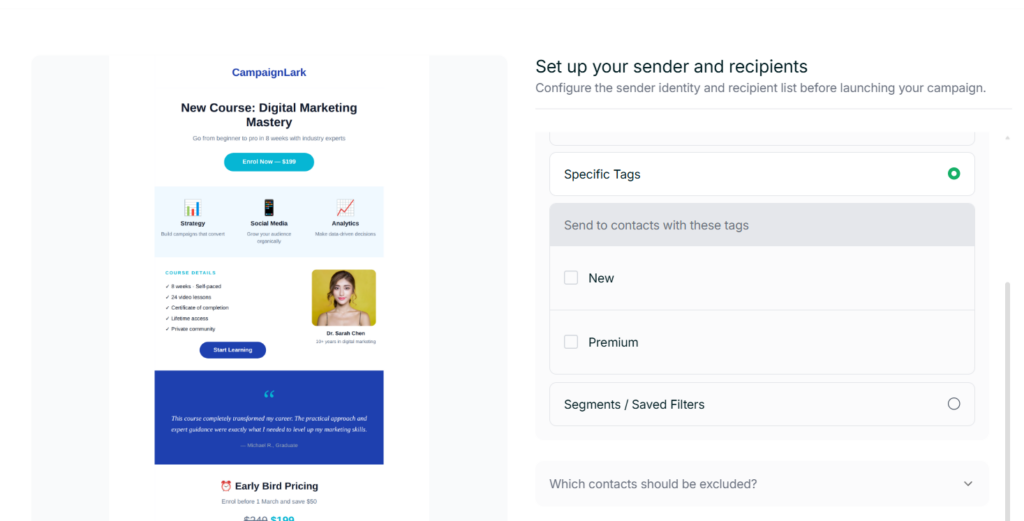
When setting up a campaign, you can choose to send it to contacts with specific tags. In the Set up your sender and recipients’ step, select Specific Tags and choose which tags to target. This lets you send relevant emails to the right group without having to create a separate list.
Using Tags in Automations
In automations, you can use tags as conditions inside a Condition node. Select Has Tag or Does Not Have Tag as your condition to branch your automation flow based on what tags a contact has. This is useful for sending different follow-ups depending on a contact’s profile or behaviour.
Tips
- Assign tags when importing contacts, using automations or through signup forms to keep your audience organized from the start.
- Keep tag names short and consistent so they are easy to select when building campaigns or automations.