
Billing information must be added to each workspace individually. This is because billing is managed at the workspace level, not the account level. This allows you to separate clients, businesses, or different sectors for more accurate billing and control.
Accessing Billing Settings
- Navigate to Settings in the left sidebar.
- Click to open your workspace settings.
- Select the Billing tab.
Here, you’ll be able to view your billing history, details, current plan, usage, and more.

Adding Your Billing Information
- Scroll down to the Billing Details section.

2. Enter all required information in the form.
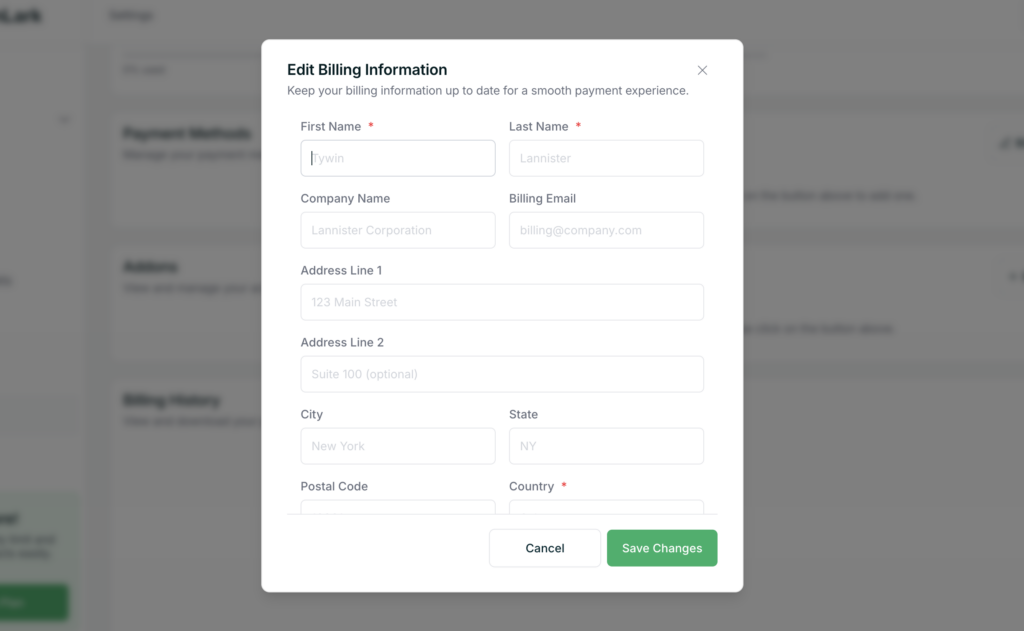
3. Click Save to apply your changes.
Once saved, your workspace billing information will be set up and ready.
What’s Next
After adding your billing details, you can proceed to add a payment method and choose a plan for that workspace.
Tips
- Make sure all details are accurate to avoid billing issues.
- Each workspace requires its own billing setup, so repeat this process if you manage multiple workspaces.
If you run into any issues, feel free to contact support.